Fall is right around the corner. I can almost see it. And for sure, I can smell it. Pumpkins have started showing up in all the places and I am here for it! Fall is my favorite season – and not just because it means the extreme heat and sweatiness that is Texas in the summer is coming to an end. Fall is cozy sweatshirts and cardigans. It’s rich jewel tones and cute boots. Fall is football games and hayrides.
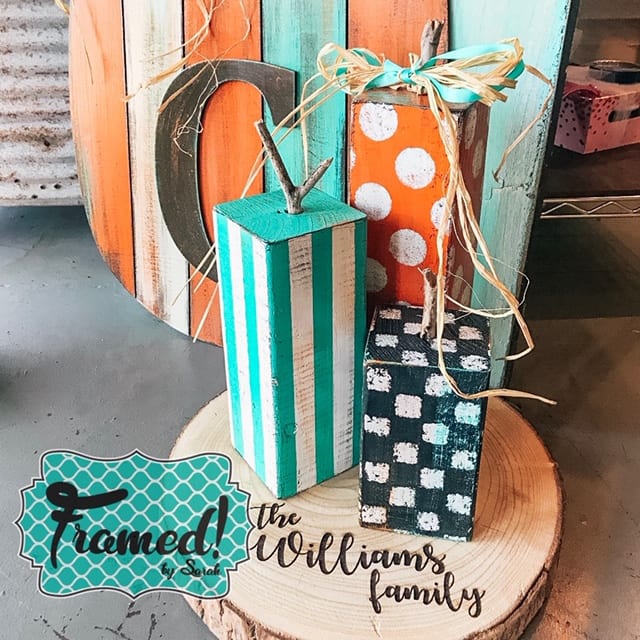
Fall is also time to bring some of the colors and textures of the season inside with fall-inspired home decor like this adorable DIY Block Pumpkin Trio. I love this project and I know you will, too. I’ll walk you through the steps to create your own block pumpkin trio. Find a link to the video tutorial for this project at the end of the post.
Grab yourself a pumpkin spice coffee or pumpkin muffin (or both, I’m not here to judge), light a pumpkin spice candle, and get crafting!
* This post may contain affiliate/referral links. I could make a commission at no charge to you if you purchase my recommended products. Please read my disclosure and privacy policy here.
Start by prepping three wood blocks. Get a 4”x4” cut into three blocks of various sizes. Have this done for you at the store or do it yourself. I cut mine into 12”, 9”, and 6” lengths. The variety of heights makes this trio extra cute! Once the blocks have been cut, sand the edges a bit to smooth them.
Next, use a drill bit to drill a hole about an inch deep into the center of the top of each of your blocks. Your stems will go in these holes, so choose a bit size that works for the twigs you found or purchased. (I went scavenging in my yard for my twigs). Don’t put the twigs in yet, that step comes after the blocks have been painted and dried.
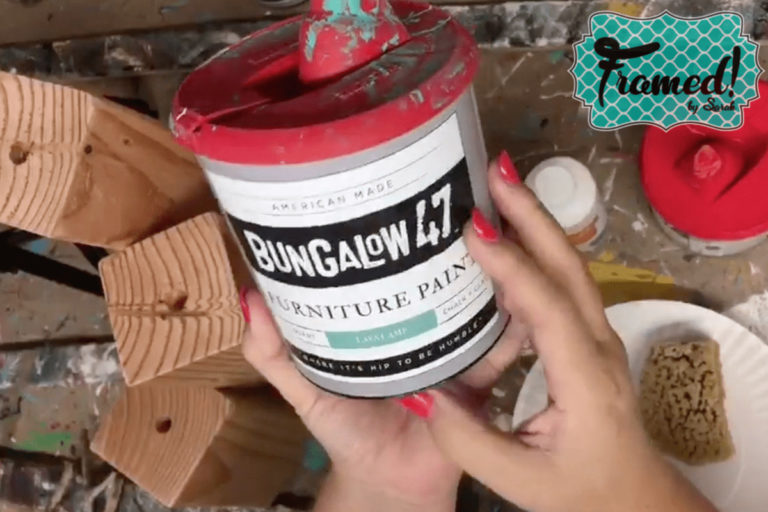
I chose orange for my main fall color – it gives the perfect warm, pumpkin-y vibes! I painted the 12” block in Terracotta, used Lava Lamp for the 9” block, and Lamp Post for the little 6” block. The orange, turquoise, and black shades look perfect together!
In the video, you’ll see I started with the 12” block and gave it an all-over even coat. You may need two coats for a smooth finish. While the first coat dries, work on another block and then go back and apply a second coat as needed.
I love using Bungalow 47 Paint especially for painting raw wood, like these blocks. It does a great job covering evenly and makes less work for you. I planned on doing two coats on these blocks, but ended up only needing one!
Sarah’s Tip: You can use a fan to speed up the drying process. I get too excited to see the finished project, who wants to wait?! But in order to stencil, you have to be able to lay the block on its side so don’t rush it too much.
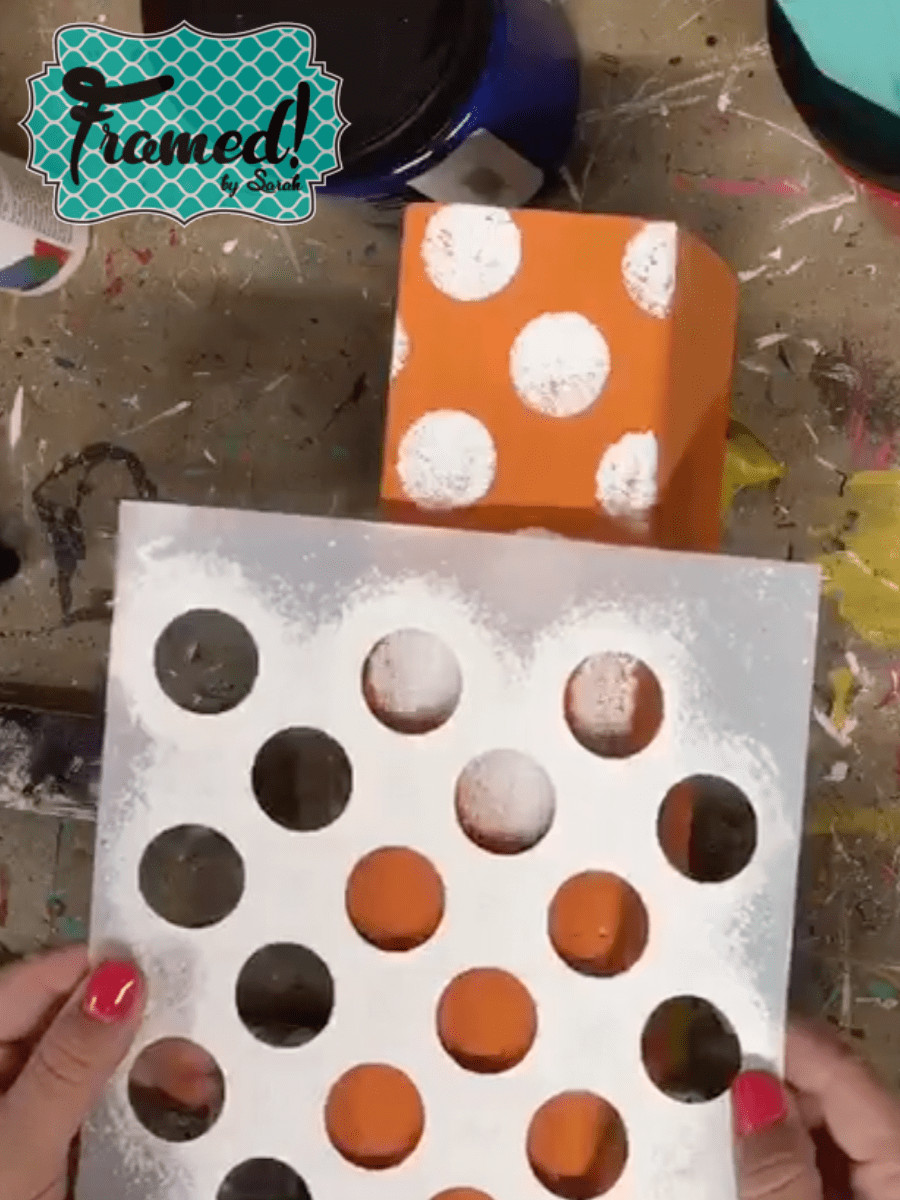
Use stencils to create fun patterns.
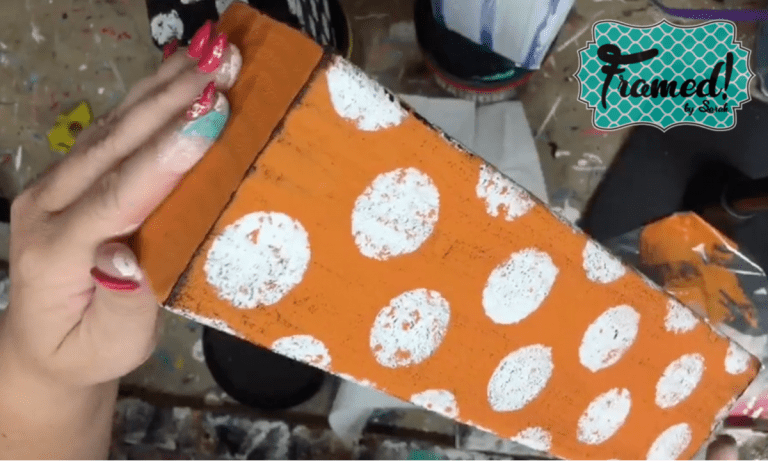
Once all three blocks are evenly coated and have dried, it’s time to stencil. I chose these cute checkerboard and polka dot stencils, but you can use any you like. A chevron or even floral would be cute!
Line up the stencil on your block. Don’t overload your sponge with paint, you can always add more. Lightly pounce the paint onto the stencil and wood block. Don’t squish or push because this will cause paint to seep under the stencil.
We’re not going for full opaque coverage, so don’t worry if there is a little bleeding. We’re going to be distressing this cute DIY Block Pumpkin Trio.
If you need to move the stencil, overlap the top row of the stencil over the bottom row of what was painted to make sure everything is aligned.
Work your way around the block, stenciling each side. I followed these same steps for my 6” black block with the checkerboard stencil.
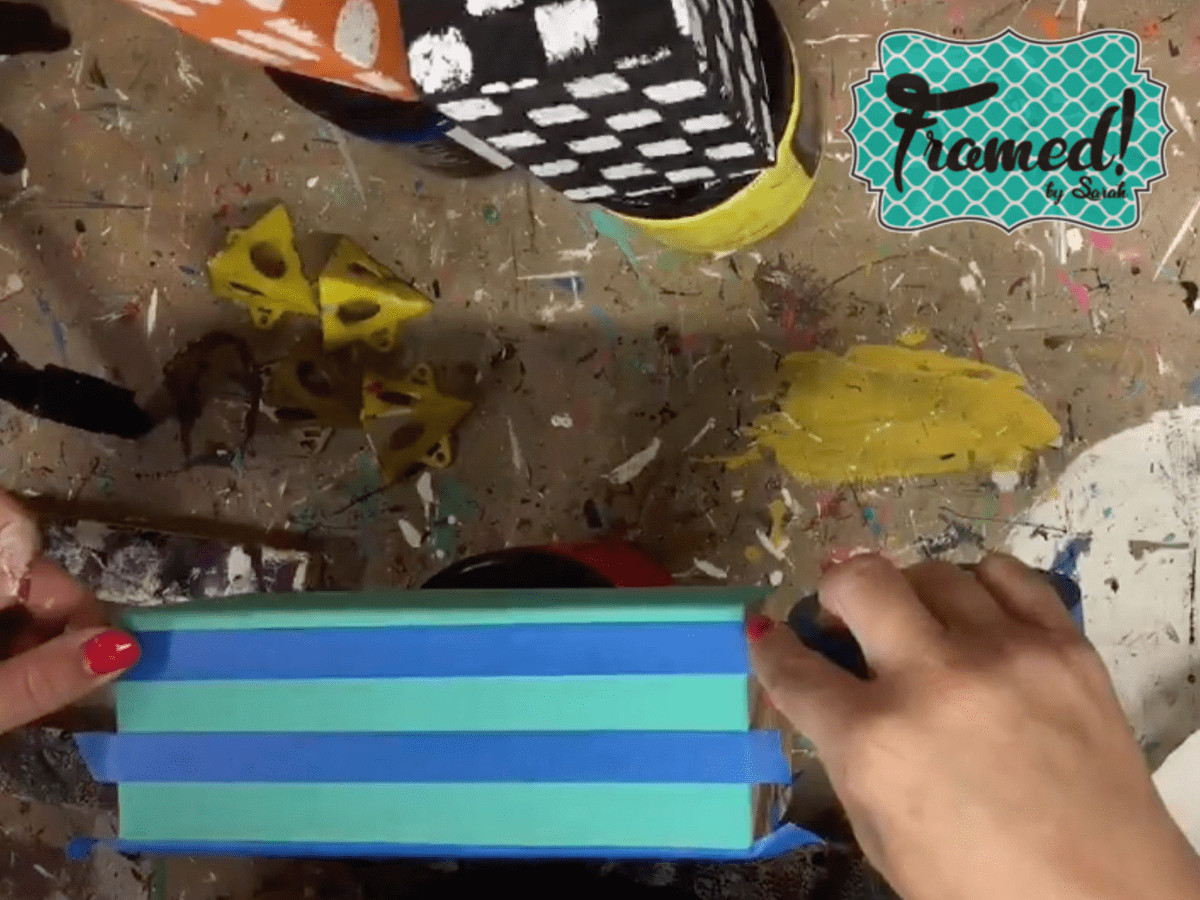
To add stripes to the third block I used ½-¾ inch width painter’s tape. I chose to do a vertical line but you could also do horizontal lines. Simply eyeball where each strip of tape should go. Don’t worry about making these perfect – imperfections add to the charm!
When painting your stripes, press the tape down well to prevent bleeding. I use white craft paint and a flat craft paintbrush. Use light coats. Again, you can always go back and add more. Let the stripes dry before you remove the tape. Don‘t worry if there is some bleeding. That’s why we’re distressing!
Add some Whimsical Distressing!
I saved all my paintbrushes from this project in plastic bags so I could reuse the paint that was left on them. If you’re using a clean brush, make sure to use a minimal amount of paint like you would for a dry brushing technique.
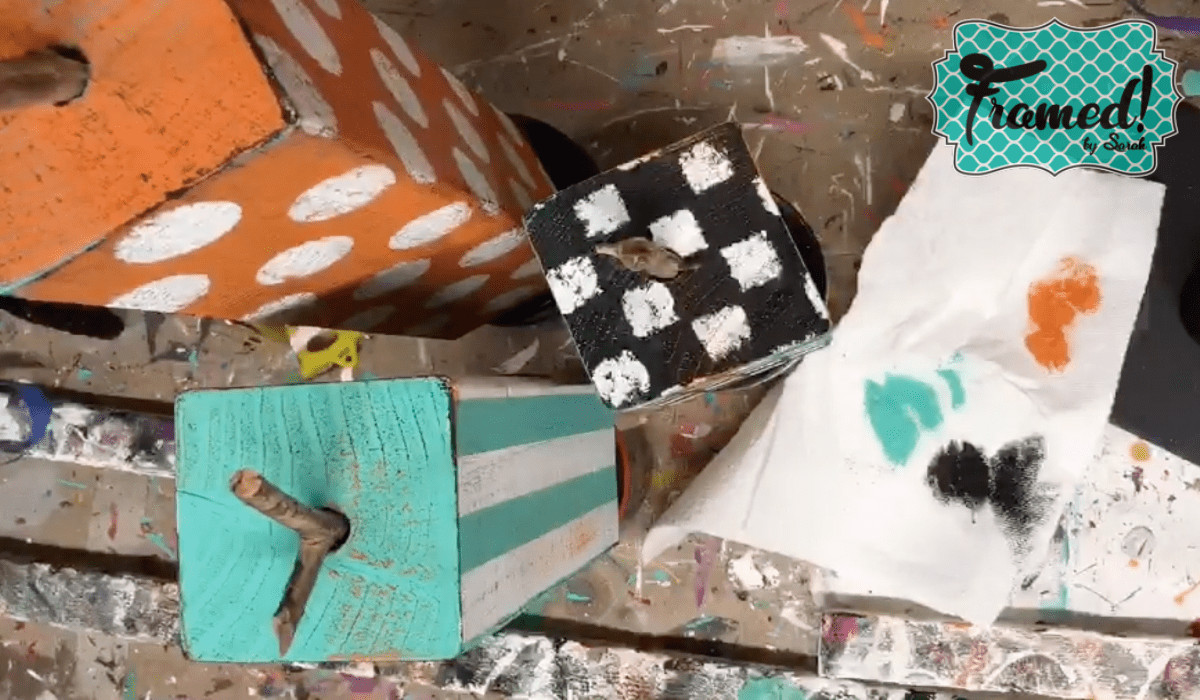
I used black and turquoise on my orange polka-dotted pumpkin, black and orange on the turquoise, and orange and turquoise on the black. These colors work so well together and the trio ends up looking like they’re truly meant to be together!
Lightly start on the edges and pull your brush across the full length and top of the block. The edges will collect a little more color. The trick is to blot your brush off on a paper towel first. You don’t want too much, just a very light dry brushing.
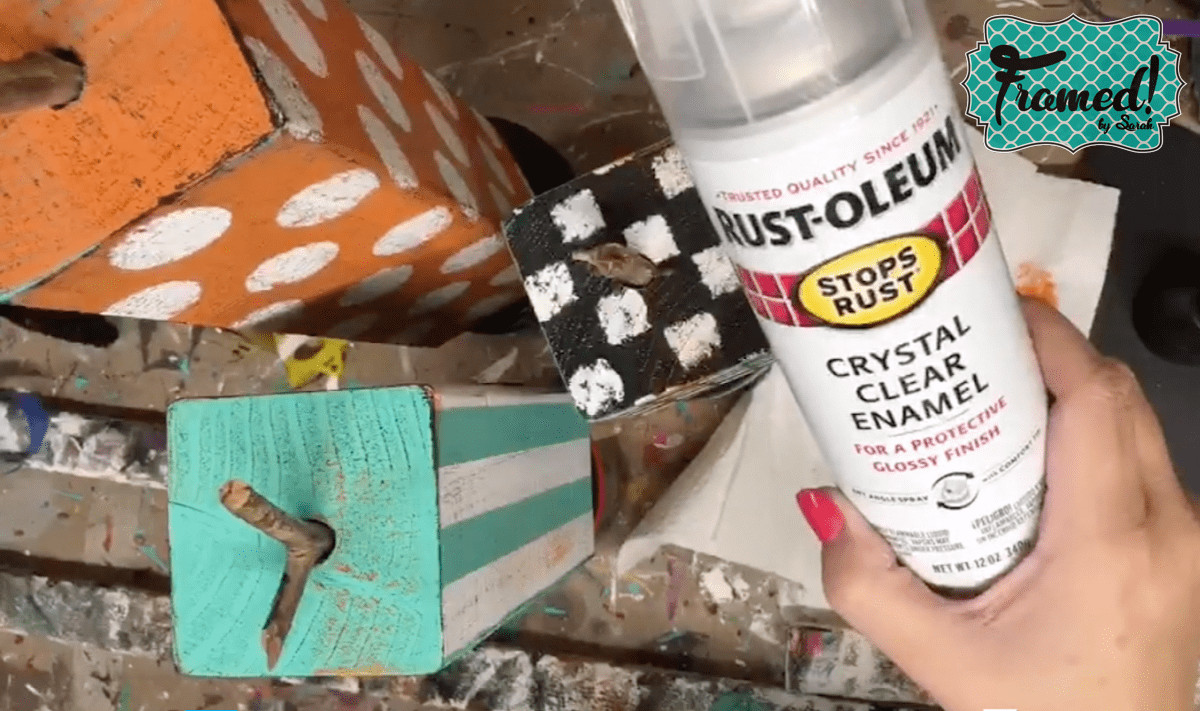
I chose to clear coat this with Rustoleum Crystal Clear Enamel to seal and make it glossy. This step protects your pumpkin blocks and makes the colors more vibrant, too!
Glue the stems in place.
Now it’s time to glue your stems (twigs) in place. I used a hot glue gun because I’ll be using my Block Pumpkin Trio indoors and hot glue sets fast, but you can use any glue of your choice. I like E6000 for outdoor porch projects. It holds up a bit better in the elements.
Watch the video below for all the steps and to see exactly how I used the stencils!
Watch the video below for all the steps and to see exactly how I used the stencils!
This DIY Block Pumpkin Trio is a quick project. The finished product is perfect for a table centerpiece, mantel, or anywhere in your home. I hope you love it as much as I do!