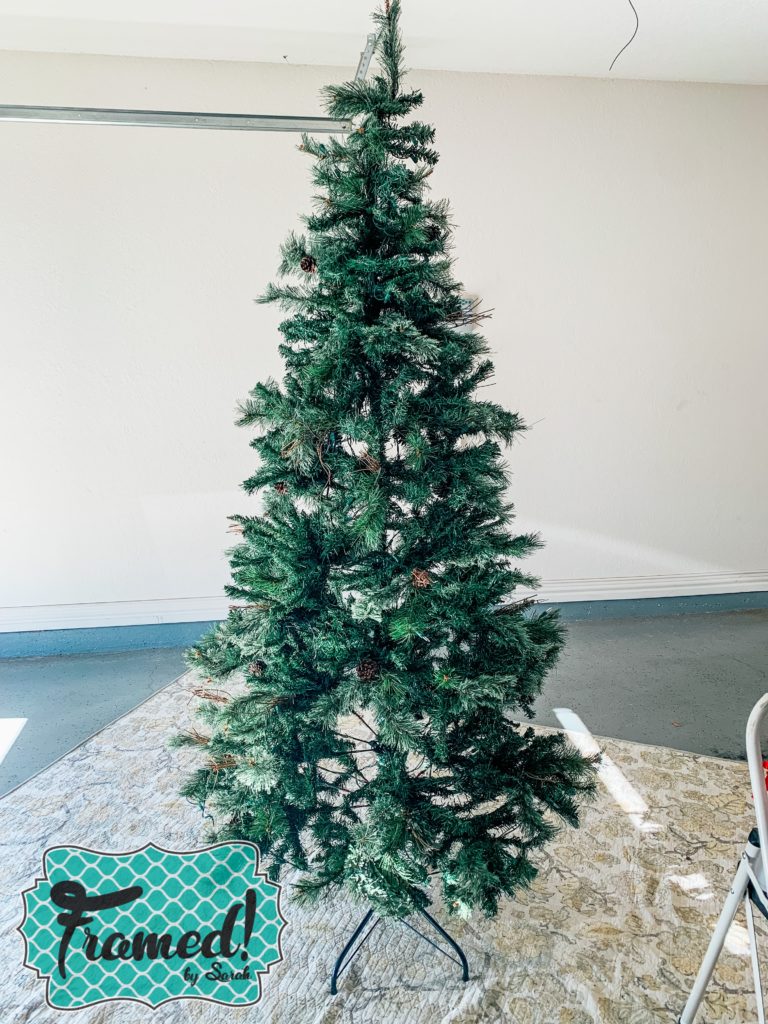
It’s the most wonderful time of the year! Time to put up the Christmas tree, that is. I love decorating for Christmas and of course, the tree is the centerpiece.
This year, I found myself suffering from tree envy. You see, I recently bought a flocked tree for the Framed! Warehouse… and I LOVE it. There’s something about the look of it, as if it came to us straight from a snow-covered forest, that makes it extra-magical.
* This post may contain affiliate/referral links. I could make a commission at no charge to you if you purchase my recommended products. Please read my disclosure and privacy policy here.
When it came time to pull our home tree out of storage, I couldn’t get the flocked tree out of my mind. It was just so pretty and the truth was I wanted one at home, too.
My dilemma? I had a perfectly good tree with a lot of years left in it. Buying a new one seemed wasteful. So, like any good DIY-er would, I started researching how to flock a tree myself and found what looked like an easy enough process to follow.
The result? A beautiful perfectly flocked tree that makes my heart sing! And it was SO EASY!
If a flocked tree is on your Christmas list, keep reading as I take you through my project step by step.
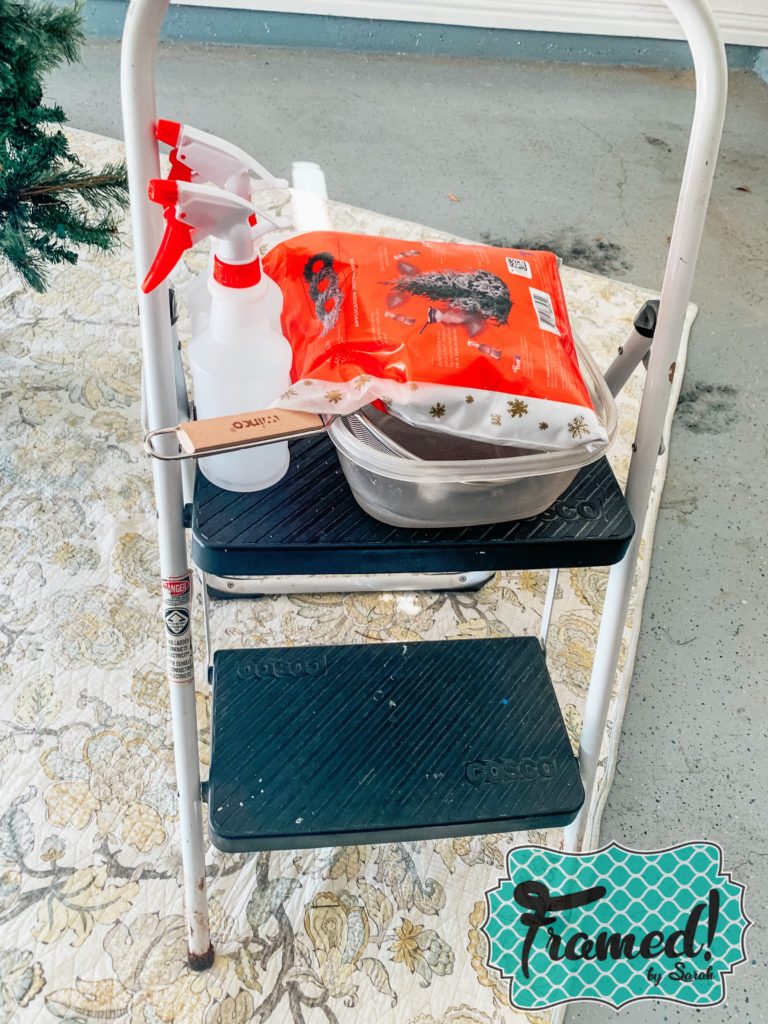
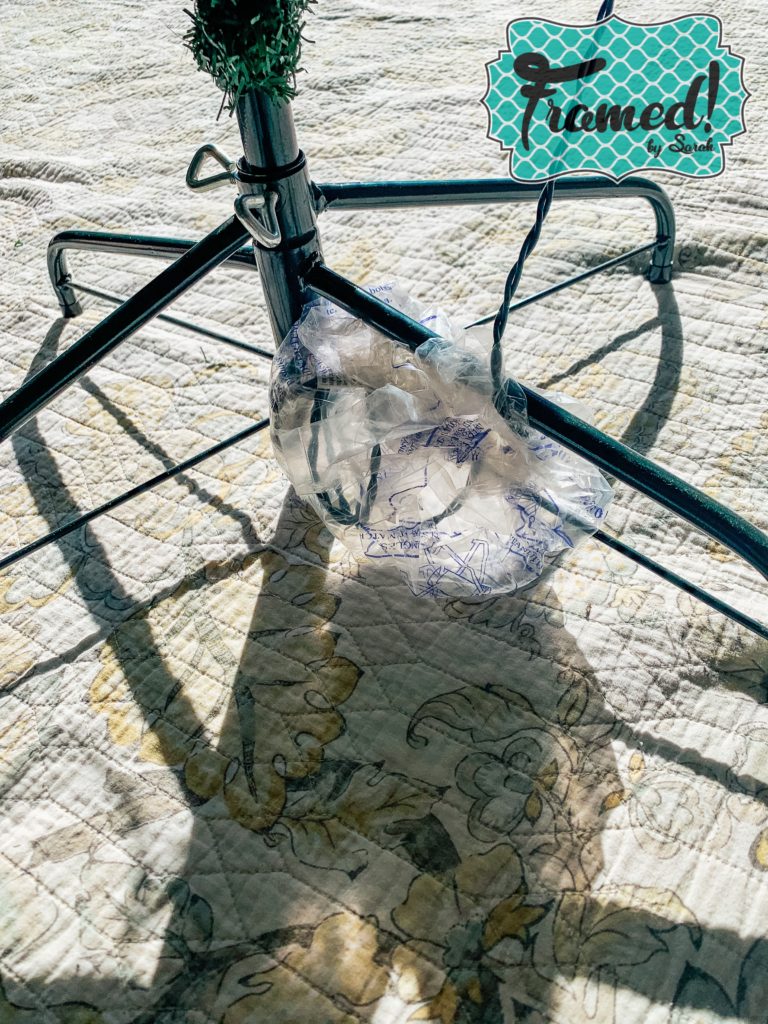
This is a project you’ll want to do outside. Try to find a spot where there is no wind or you are protected from the wind. I did it in my garage. I put down an old quilt I usually use as a paint drop cloth so I didn’t get any flock stuck to the garage floor. Old cardboard boxes or butcher paper would also work.
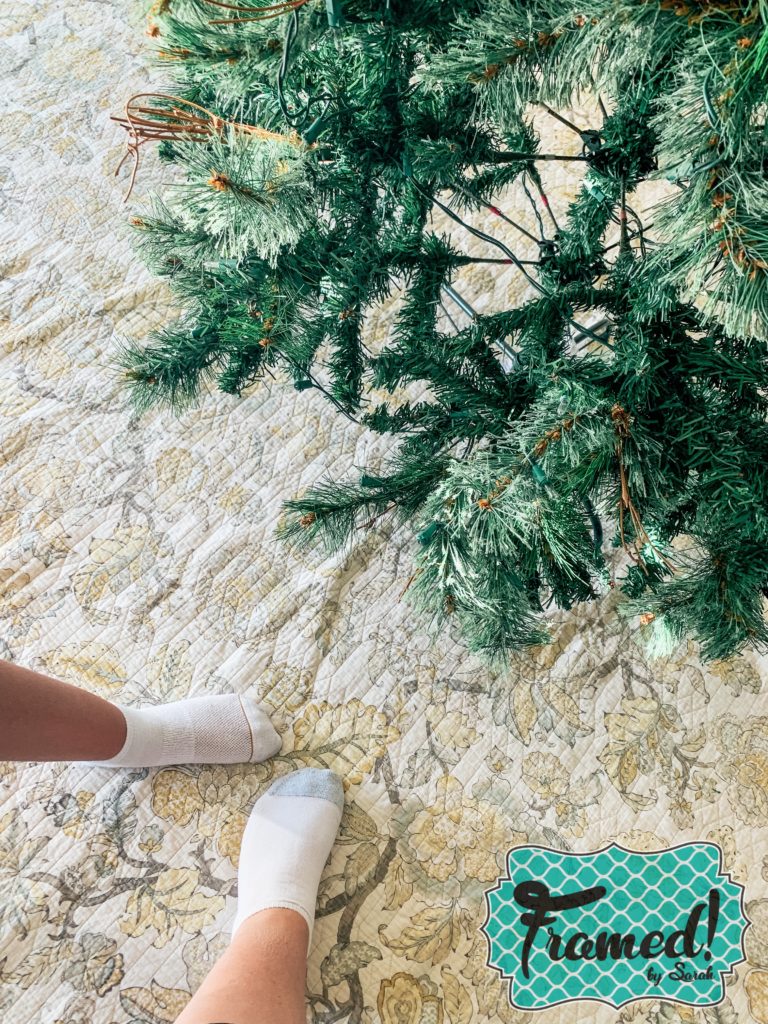
I recommend having an extra set of hands to help with this project. My 13-year-old daughter was my assistant. Having her help made everything quick and easy. We each put on a pair of old socks to avoid ruining a pair of shoes or tracking flock powder into the house when we were finished.
Prep work time.
Start by fluffing out your tree branches the same way you do when you’re setting up your tree. I do have a pre-lit tree but didn’t worry about getting flock on the bulbs. I grabbed the plastic sack the flock came in, wrapped the outlet and cord in it, and tucked it under the tree base.
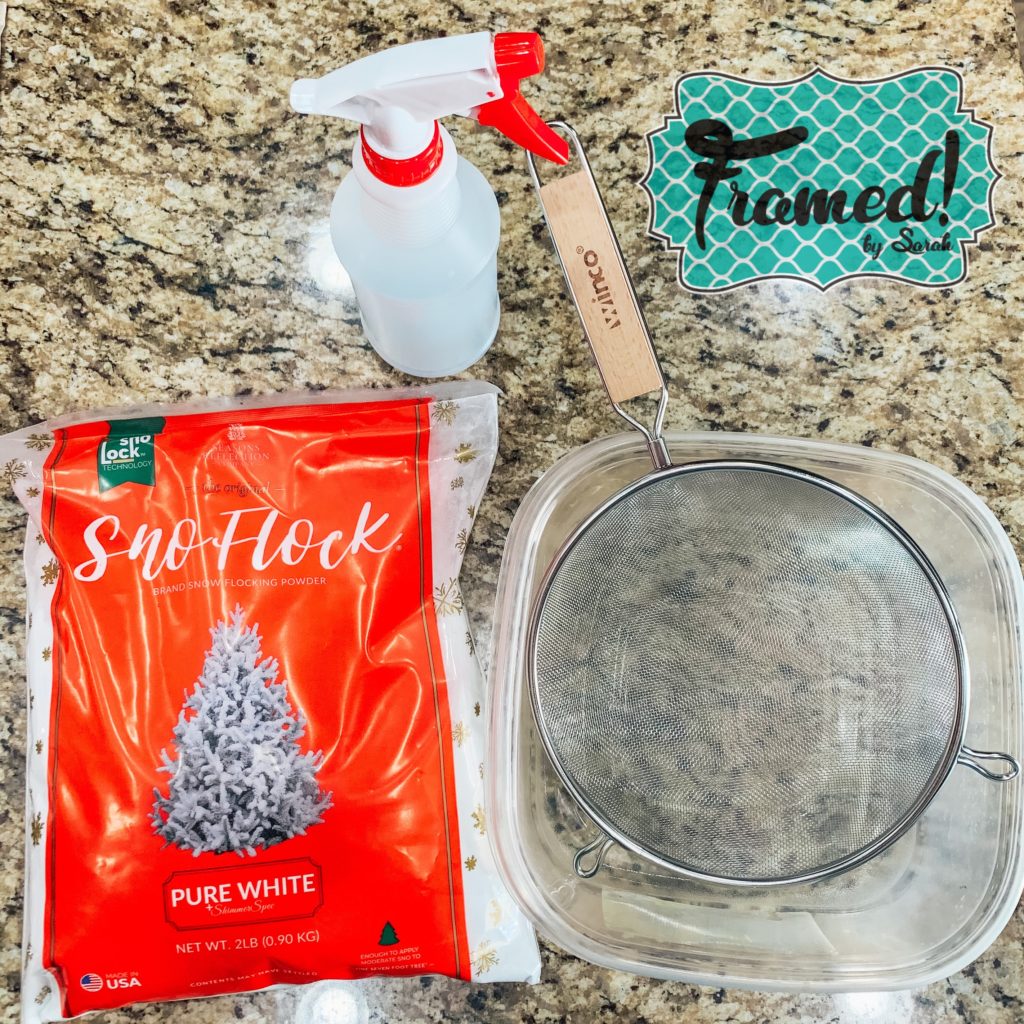
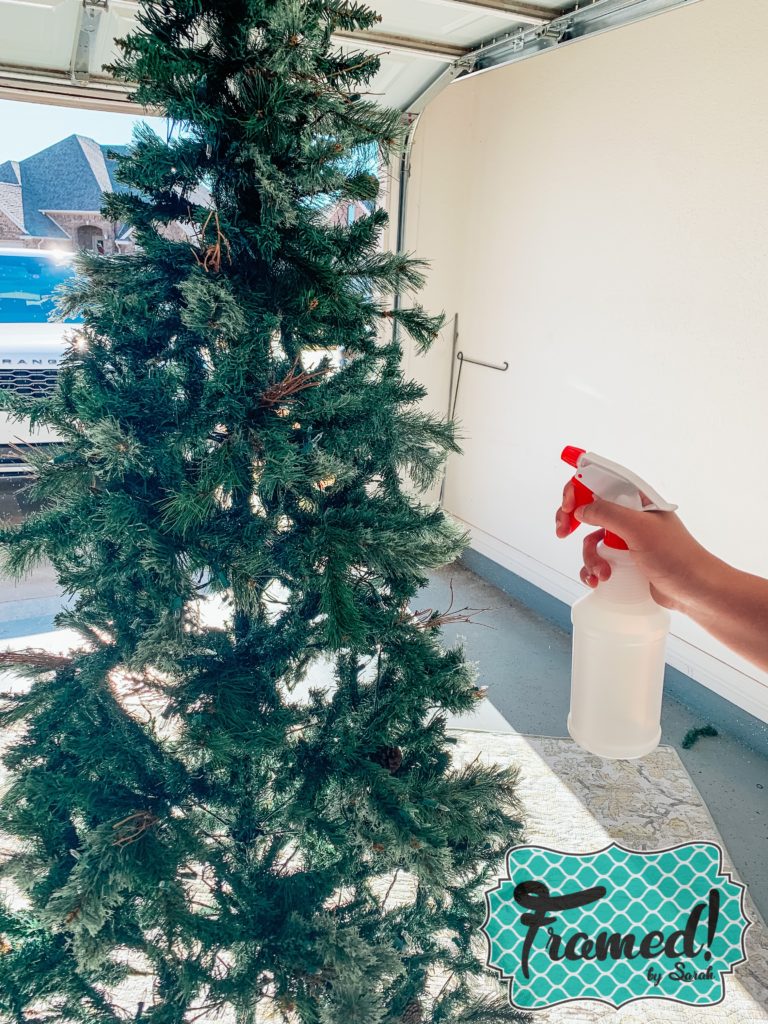
My daughter and I used spray bottles filled with water to wet down the tree. We sprayed the entire tree from top to bottom so the flock would stick no matter where it fell.
Hint: Keep the spray bottle close in case you need to rewet sections as you work.
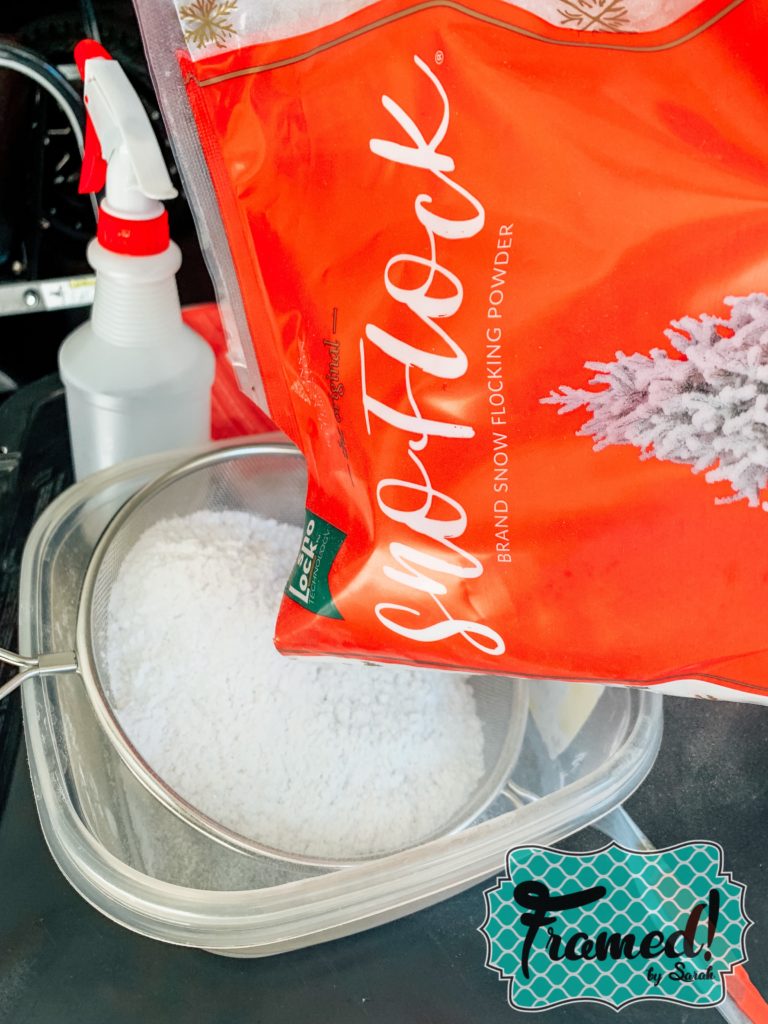
I loaded the strainer up with flock and kept it over this plastic bowl. A paper plate or paper bowl would work perfectly well, too.
Let’s get flocking!
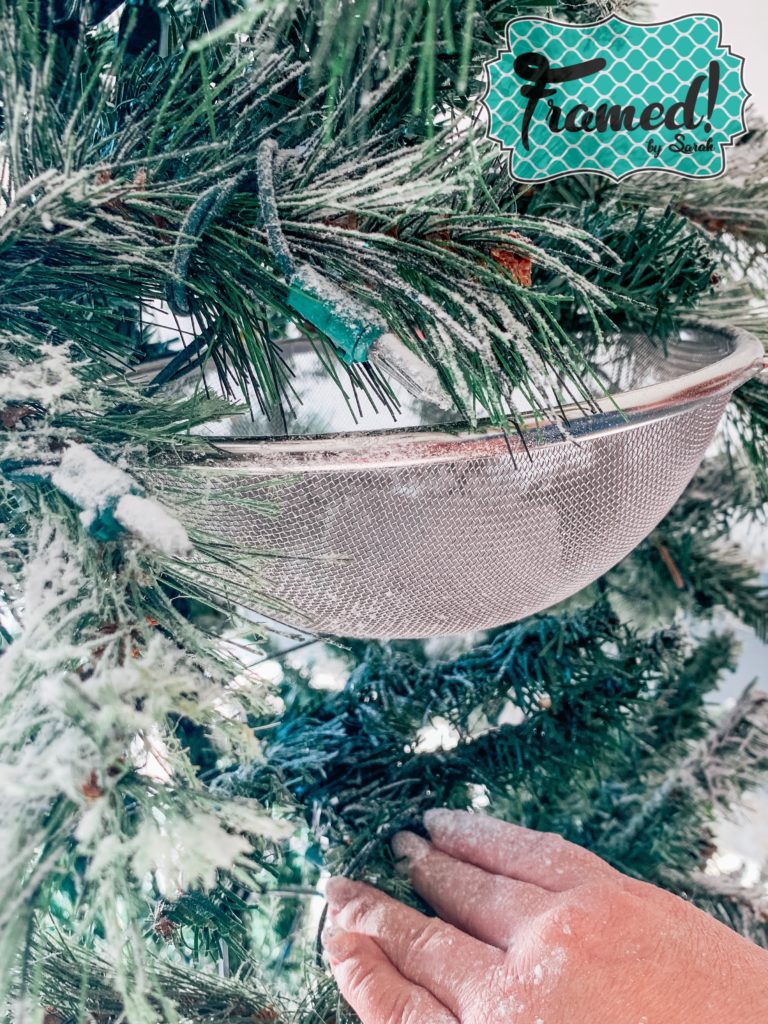
I started at the top of the tree and shook the strainer moderately hard. Flock started falling much like snow does. I focused on one side of the tree, working my way down to the bottom. My daughter came right behind me, spraying the flock with water as it fell (as suggested on the package). I repeated this step all the way around the tree.
While this first go-around covered most of the tree, I realized I was missing the insides of the branches. They were covered up by other branches so the flock couldn’t reach them. A smaller strainer would have been helpful here, but I simply pushed the branches down with my hand and worked the strainer in there. I did this all the way around the tree. I rewet the tree in these spots first to make sure the flock would stick.
As I finished getting all the branches, I noticed there were still some missing spots. I was determined our tree would be fully flocked! But, there were spots where the strainer simply wouldn’t fit. I decided to improvise and spray more water in the unflocked spots and throw flock at it with my fingers. My daughter LOVED this part! We went all the way around the tree, flocking any pieces that we’d missed.
After we finished applying the flock, I gave the tree one more good spray with water all the way around to set it.
The package says to let the tree dry for 24-72 hours. I could tell mine was already dry within just a few hours. Of course, living in Texas where it was 63 degrees that day helps. I let it sit for most of the day to make sure it was dry before bringing the tree into the house. I’ll wait at least 24 hours before starting to decorate. The last thing I want is for the flock to fall off because I was too impatient!
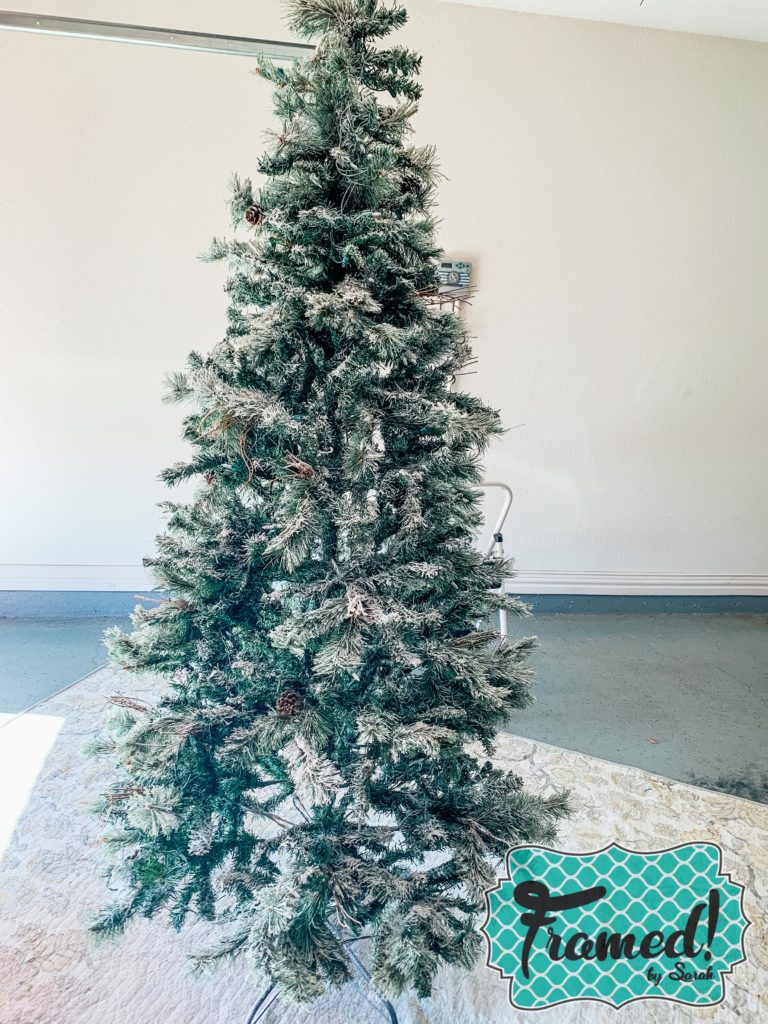
The result? One perfectly flocked tree.
This project took less than an hour from prep to finish and it was super easy. I ended up using less than the full bag of flock on my 7.5-foot tree, but you could go heavier with your own flock if you wanted. I recommend using one bag for up to a 10-foot tree.
This project was simple, fun to do with my daughter, and resulted in the perfectly flocked tree of my dreams. There’s only one problem… Now I want to flock everything! If my garland wasn’t already up on the mantel, I would have flocked that, too.
I plan to save my remaining flock for next year. I’m not sure how the flocking will hold up in storage, but I can easily touch it up next year.
Anyone at any DIY skill level can do this project. If you’re dreaming of a flocked tree in your home, I recommend giving it a try!
Be the first to know about our new arrivals and notifications when Sarah goes live on Facebook and get super sweet deals sent to your phone! Text “hey girl” to 940-209-0980.
Make sure to follow Framed! by Sarah on Facebook! I go LIVE every Friday to chat, share a few sneak peeks and show off all my favorite new arrivals!
Please share this DIY Tutorial and follow me on Pinterest!