Sometimes a girl just wants to make a statement. This was one of those times! I’d dreamed of a wood accent wall for a long time. I knew exactly how I wanted it to look, but I couldn’t find anything that matched the vision in my head.
I looked at peel and stick walls, wallpaper that looks like wood, wood paneling, and more. You name it, I considered it. Nothing was exactly what I wanted.
I LOVE patterns and wanted to make a bold statement on this wall in our master bedroom. Our furniture is stained dark brown and the carpet is beige. I really wanted to incorporate some gray tones into the room and I knew a wood accent wall was the perfect way to do it.
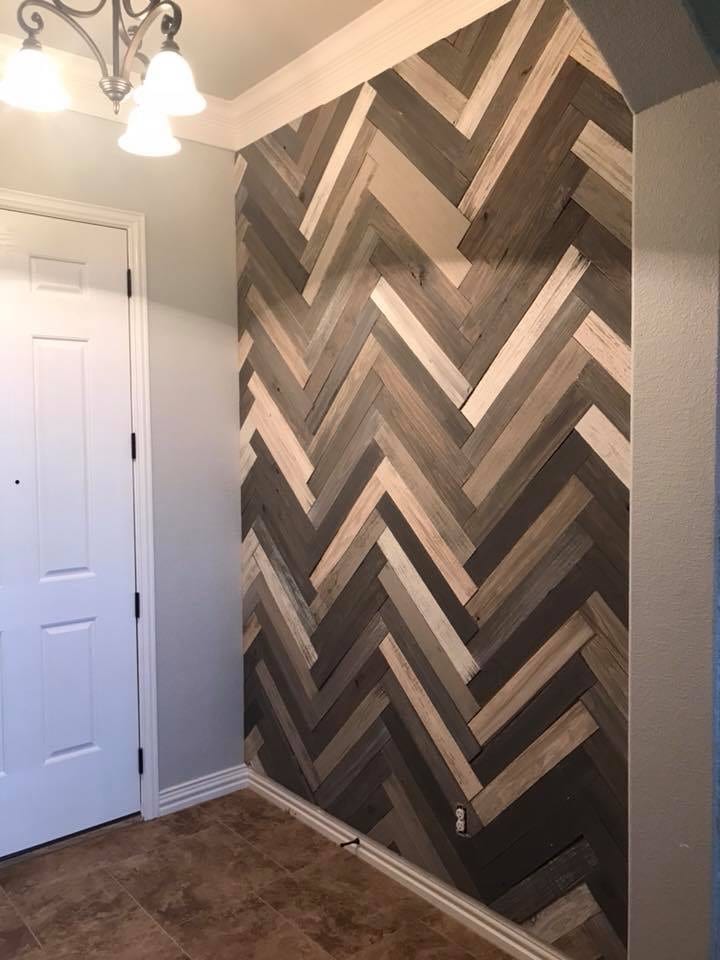
I couldn’t be happier with how my DIY herringbone wood accent wall turned out. It’s even better than what I’d imagined!
* This post may contain affiliate/referral links. I could make a commission at no charge to you if you purchase my recommended products. Please read my disclosure and privacy policy here.
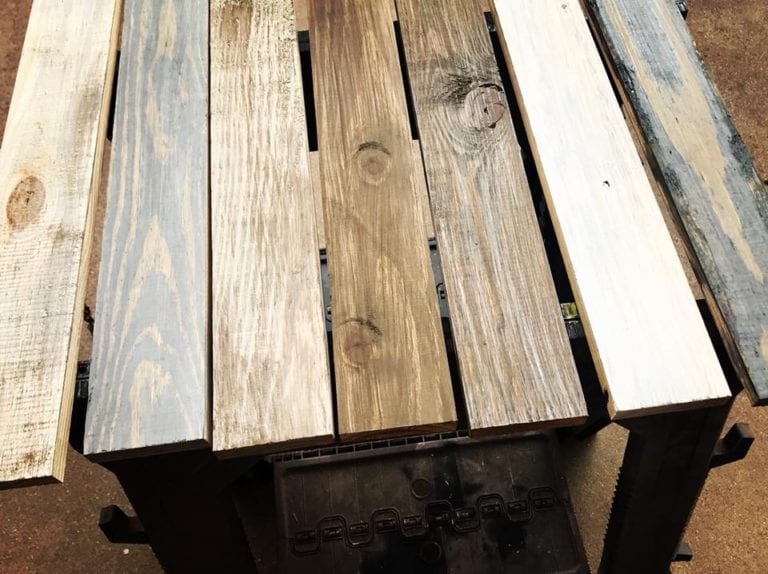
I used four paint colors to create this beautiful herringbone accent wall. That’s right, I said paint.
I thought about using stain, but realized paint had so many advantages over stain for this project. Paint is much easier to work with, it’s easier to layer, and it’s so much easier to clean up. Stain is messy and smells horrible. In the end, choosing to use paint for this project was a no-brainer.
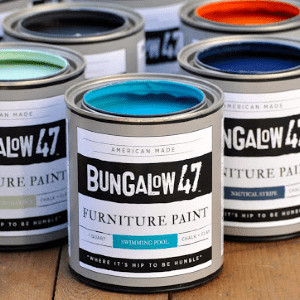
My paint of choice for my wood accent wall was Bungalow 47 chalk and clay based paint. It has no odor, no VOC, and it dries quickly. This paint can be used on tons of different projects around your home.
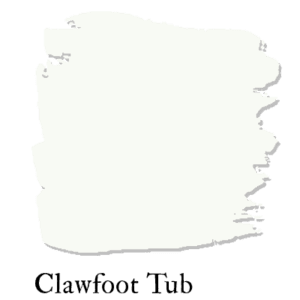
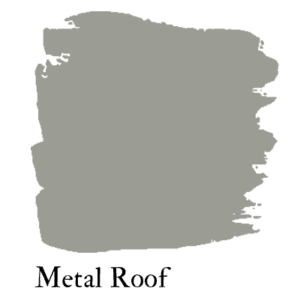
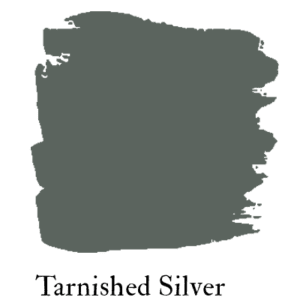
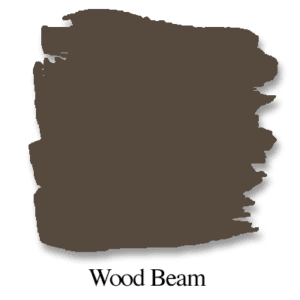
After considering a LOT of shades, I went with four colors: Clawfoot Tub, Metal Roof, Tarnished Silver, and Wood Beam. I loved each color on its own and REALLY loved how they looked together. It was like each color brought out the beauty of the others even more.
Here’s a quick Facebook Live I did!
Watch as I show you how I layered the paint on to make each board unique and ready to mount to create my DIY herringbone wood accent wall!
Quick and easy supply list.
1) Paint.
I use Bungalow 47 paint to simplify all my projects. Again, for the herringbone wall, I used:
Clawfoot Tub
Metal Roof
Tarnished Silver
Wood Beam.
2) Liquid Nails.
I recommend using liquid nails or another tried and true construction adhesive. Grab liquid nails from my Amazon shop here and make one less trip to the hardware store!
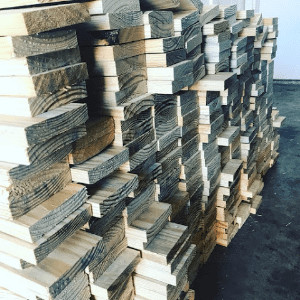
3) Wood.
As a small business owner myself, I love any opportunity to shop small. And shopping small saved us a lot of money for this project. We found the best deal on wood at a local lumber yard, not a big box home improvement store.
4) Containers.
Keeping with my theme of keeping this project simple and saving money where possible, I used leftover food containers. And yes, I washed them out thoroughly first.
Grab some old butter or deli containers and you’re all set. Or, if you’re feeling fancy, you can use these disposable clear plastic cups made for mixing paint. Just pour in one part paint to one part water and stir well.
5) Chip Brushes.
I recommend using a separate brush for each paint color. You can find an inexpensive pack of chip brushes on Amazon or at most hardware stores.
Check out this time-lapse of the DIY Herringbone Wood Accent Wall install!
You could call this a mostly-DIY project. I did hire a local contractor to install this wall for me. If you are handy with a saw, you can totally do this yourself, but with all the intricate cuts needed for around my windows, I knew it was best to trust it to an expert.
My contractor used Liquid Nails to install the wall. This meant he didn’t need to add any physical nails. He started in the center and at the bottom of the wall and let the first row dry. Once the first row was set, it became the support for each board going up the wall.
It was fascinating to watch my vision come to life one piece of wood at a time!
I was nervous about how permanent this would be since we used liquid nails. But if I want to change the colors later on, all I have to do is paint over the entire wall.
That’s another benefit of using paint instead of stain. I could paint this all white or match the color of the other walls. There are really endless possibilities for this wall in the future. For now, I love it just the way it is!
I loved this DIY Herringbone Wood Accent Wall so much I decided I needed another in my entry!
I couldn’t be happier with the way this project turned out! I can’t wait for you to try it. When your herringbone wood accent wall is complete, I’d love it if you shared your pics with me on Facebook or Instagram.
If you liked this project, check out my DIY Color Block Wall tutorial! My son and I had a blast designing and painting it and I’ve seen so many of you create different looks inspired by our idea!
Join the T-Shirt Club today and never miss out on one of our cute tees again!
Be the first to know about our new arrivals and notifications when Sarah goes live on Facebook and get super sweet deals sent to your phone! Text “hey girl” to 940-209-0980.
Make sure to follow Framed! by Sarah on Facebook and Instagram! I go LIVE every Friday to chat, share a few sneak peeks and show off all my favorite new arrivals!